3 October 2016

One-row crochet snowflake video tutorial

one-row crochet snowflake

My video tutorial for 2-row crochet snowfake has been popular. So this year I decided to make a one-row snowflake! It is quick to make. You can crochet one in any wool or yarn. I hardened it using white glue and water. A bit more glue than water.

Plenty of time to make these for friends, family and your own Christmas tree this year.


1 October 2015

Crochet overlay square, video-tutorial

My style in crafts gets more and more colourful. The more there is colour or texture in a craft project, the happier it makes me feel. I wanted to create a crochet square with many colours and some overlay.

After trying out different possibilities I ended up with this:


Some of my trial pieces have more picots in the corner. I love picots that are either a differen colour from the rest of the row or span over several rows. At the end I changed this part slightly.


I keep browsing Instagram, Pinterest and Google image search for ideas. Here's a link to Google image search "crochet overlay". That gives me many ideas of the possible techniques. In Instagram I gave my square the hashtag #overlaysquare.

I made a video tutorial of the square. This is the longest video I have published so far. It is in fact in 3 parts, otherwise it would have been half an hour long. Before editing I had an hour of clips.
This is also a test to see if a more complicated pattern will work as video tutorial. Most of my videos use simple techniques and are short.

A couple of colour variations:


2 March 2015

Colourful crochet slippers

I love using plenty of colour! Little by little I'm learning to create combinations that seem just right in my own eyes.

varikkaat-virkatut-tossut

I have used various left-over yarns. All are at least 70% wool. I had a crochet hook size 3.0 mm. My shoe size is 38 (5).

I'm not writing a pattern as such, only giving some pointers.

Sole:

I started the sole in the middle. I used a chainless foundation (you can search that on Youtube if you are not familiar with the technique). But a chain works just as well. I had 32 stitches to start with. You crochet round the middle chain, increasing at both ends.


At the stitch markers I started to widen the front of the sole.Used half trebles (British term) or half double crochet (American term).


virkattu-tossu-pohja

One row of doubles (Br.) (singles, Am.) round the sole.
virkattu-tossu-pohja
Turned the sole round. A row of slip stitches round the sole. This way the sole and the rest of the slipper will look more separate.
virkattu-tossu-pohja

Side of the slipper:


virkattu-tossu

Above the blue and green rows are in V-stitch. If you are not familiar with it, you can see the V-stitch chart here (not my site but found that).

After those I started to decrease stitches in the part that goes over the toes. I didn't count stitches, just checked that the shape seems to be right. The decreases are between the two stitch markers. In the rest of the slipper the number of stitches stays the same.


virkattu-tossu-ohje

virkattu-tossu-kuvaohje

virkattu-varikas-tossu-ohje

virkattu-tossu-kuvaohje

The finished main part of the slipper:
varikas-virkattu-tossu-kuvaohje

Flower:

Started by chaining 4.

The groups of trebles (British term, the American term is double crochet) were made so that you first crochet 4 trebles, take the hook off the stitch, insert it into the top on the first treble as well as the stitch and pull yarn through both.
virkattu-kukka-tossuun

The last row is a picot edging. The blue yarn is hidden inside the double crochet stitches (or singles in American terms) from one picot to the next.

virkattu-kukka-tossuun-ohje

kukka-virkattuun-tossuun-ohje

virkattu-tossu-kuvaohje

virkattu-tossu-kuvaohje

Finished! If the slipper seems too loose, you could pass a round elastic inside the top row.

colourful-slippers-instructions

6 February 2015

Valentine's Day heart with chart

Lately I have been crocheting many kinds of hearts. This is my favourite. Decided to draw a chart of how to crochet it and planning on making a video, too. (Edit: video at the bottom of the page!).


I was trying the heart out using white yarn just because I happened to have some on the table. I normally like more colourful things but I like the white heart too!


Here is a chart for crocheting the heart. A few times I have used Photoshop or Illustrator for making charts but it is far too slow! This I just drew with a pencil!

So you start in the middle by chaining 5. I marked the starts of rows on yellow pen.


This is how to make the group of raised trebles:


Here is also a video of how to crochet the heart:


26 December 2014

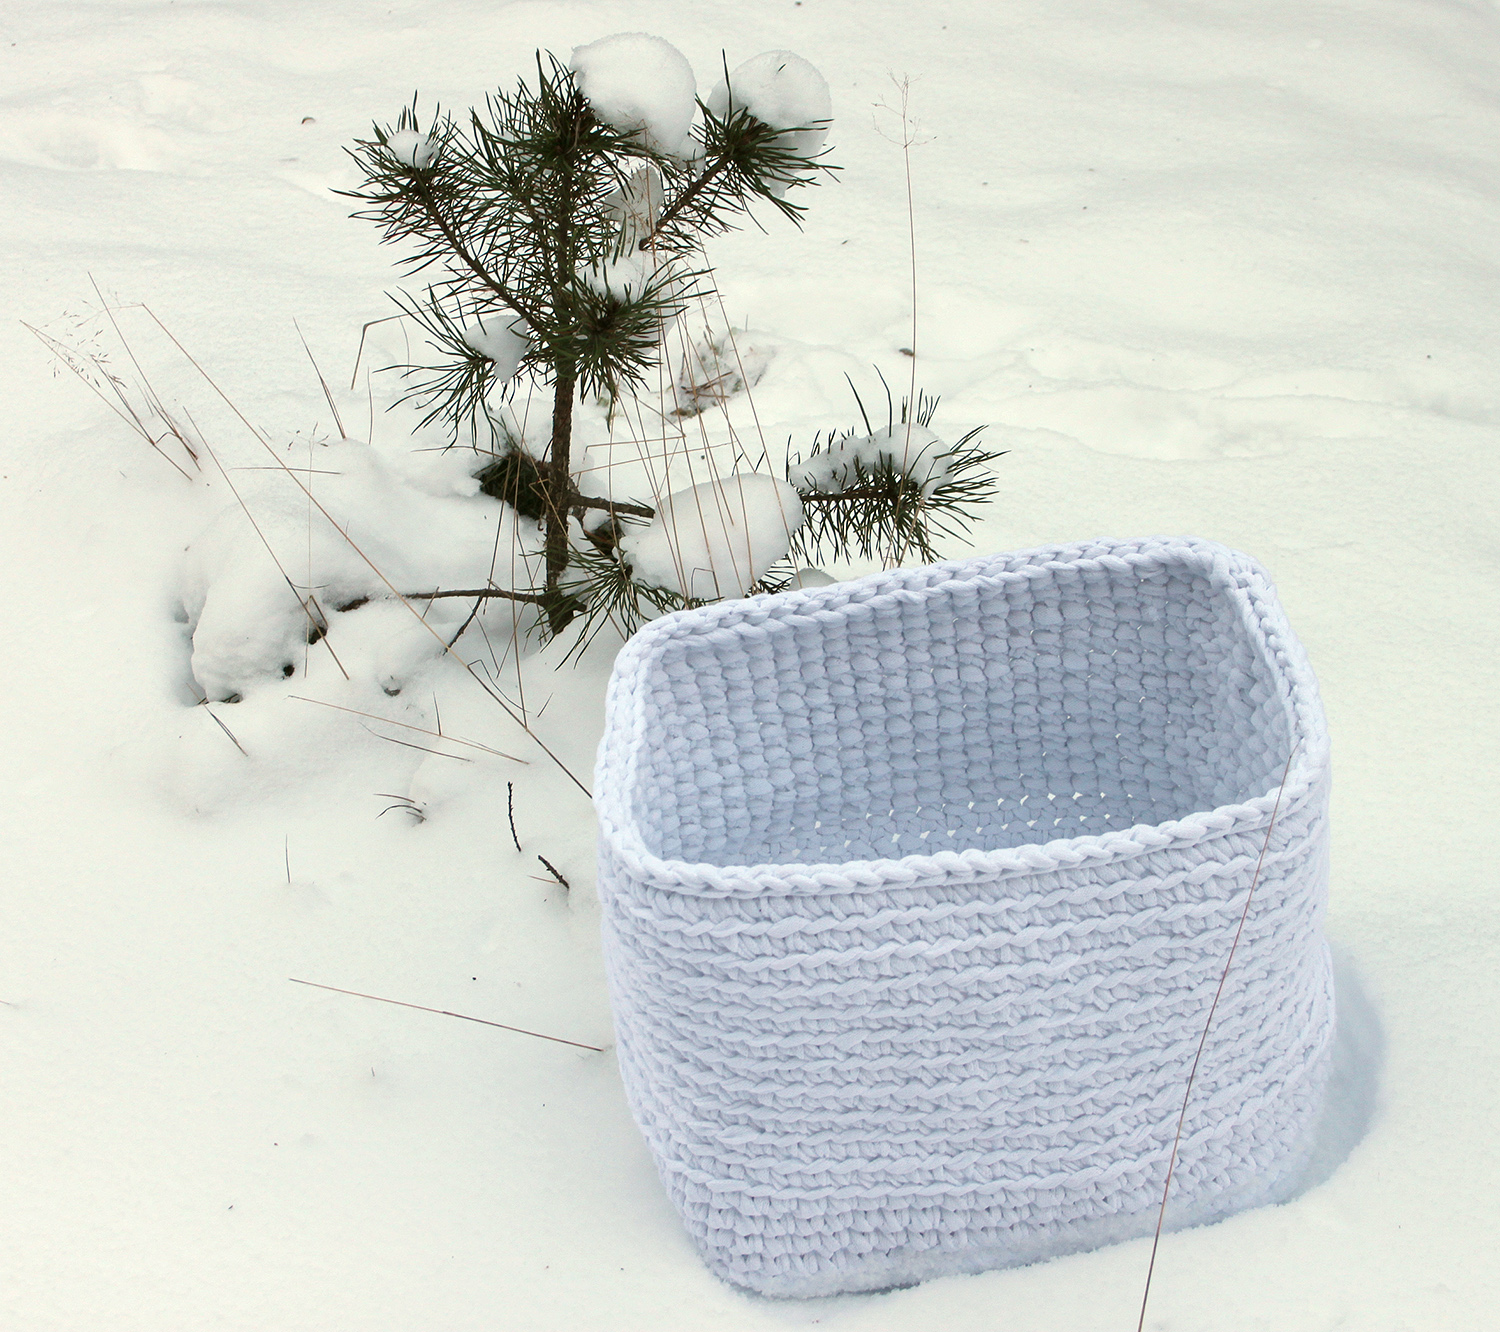
Crochet basket


Finished this basket today, a Christmas present a bit late! I had been looking for ready-made baskets for my daughter but coulnd't find any of the right size. Decided to buy some of the tube yarn to crochet baskets myself. I gave her a note as Christmas present, explaining what kind of baskets I would make.

I had been given exact measurements: width 30 cm, depth 25 cm, height 26 cm.

I started out by crocheting the base part according to those measurements. Single crochet (British double crochet) back and forth to create a piece 30 x 25 cm. I used a crochet hook size 8.0 mm.


After the base was finished, continued crocheting round it. This is what forms the basket, you just keep crocheting until the sides are high enough. You need to be careful not to increase the number of stitches at the corners.


For the first 5 rows after the base I took both loops of the previous row on the hook to create a firm bottom part of the basket. After that I wanted to form horizontal rows. That you get when taking only the back loop on the hook.


After the basket was high enough I re-enforced the top edge by going round it a second time, using slip stitches.


The basket weighs 900 grams. My hands hurt a bit from the work, so I'm going to work on some lighter things for a couple of days before making more baskets. Promised to make 3 of those for my daughter.

28 November 2014

Lace crochet house with lights for Christmas


Happy with my finished Christmas decoration! Starched lace crochet.

Here's the house without lights:


I sewed the roof pieces together at the top but the roof itself is just set on top of the walls. This makes it easier to fit the lights.


This was the first time I tried this and I'm happy with most things. I starched this using 50-50 sugar-water solution. Next time I might use glue-water to make it harder. 

Haven't decided yet where I will display the house!